.jpg)
PCBA placed inside a piece of heat shrink. Picture shows the approx. placement of the PCBA.
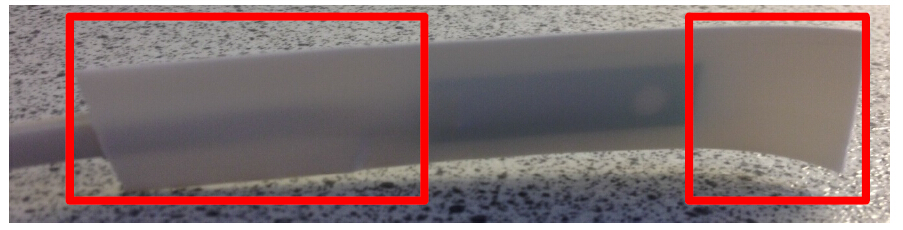
The 2 areas marked with red rectangles shall be heated to shrink the heat shrink. The heat will spread and
shrink the section in between, that is ok. But do not explicitly heat the section not marked.
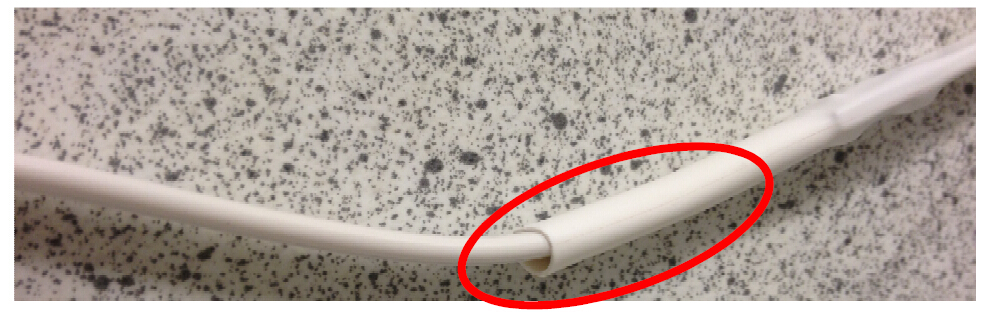
The end with the wire looks like this – before one press around the cable with fingers. The wire is flat, but it
is seen from the side. Press around cable with fingers to make the heat shrink close the gap between the
cable and the heat shrink. Press in multiple positions. This must be done while the heat shrink is hot.
The gap between the cable and the heat shrink is now closed.
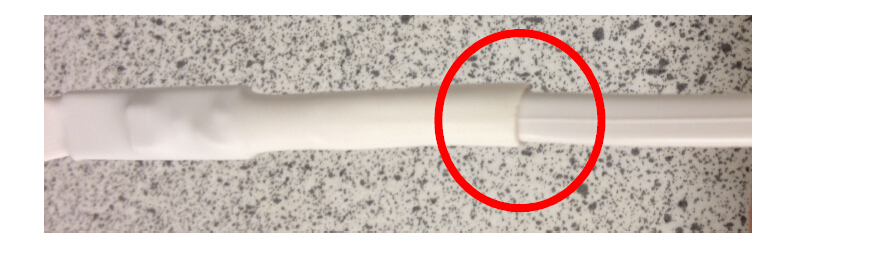
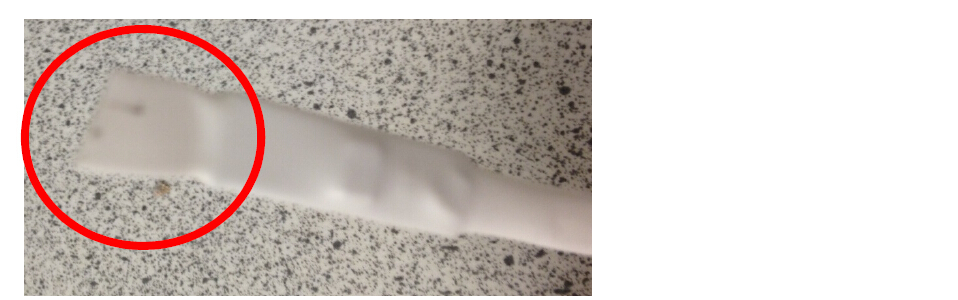
The opposite end of where the wire comes out looks like this – before one press around the end with
fingers. Press around heat shrink with fingers to make the heat shrink close the hole. It must be done while
the heat shrink is hot.
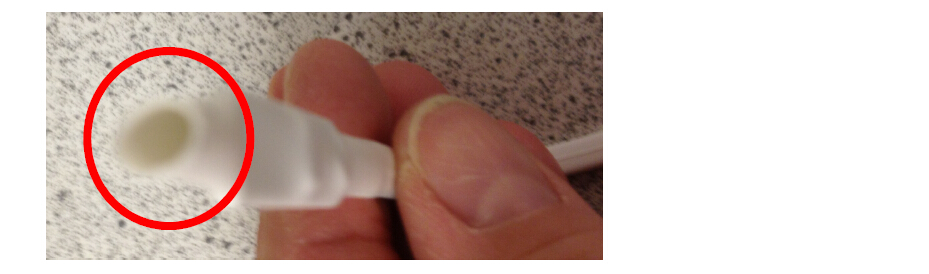
The heat shrink looks like this after the hols has been cloed by pressing the arounk the heatshring with the
fingers in one spot.
|